Pairing a New Device
To pair a device with the backend, you need to create the “Device” on the backend.
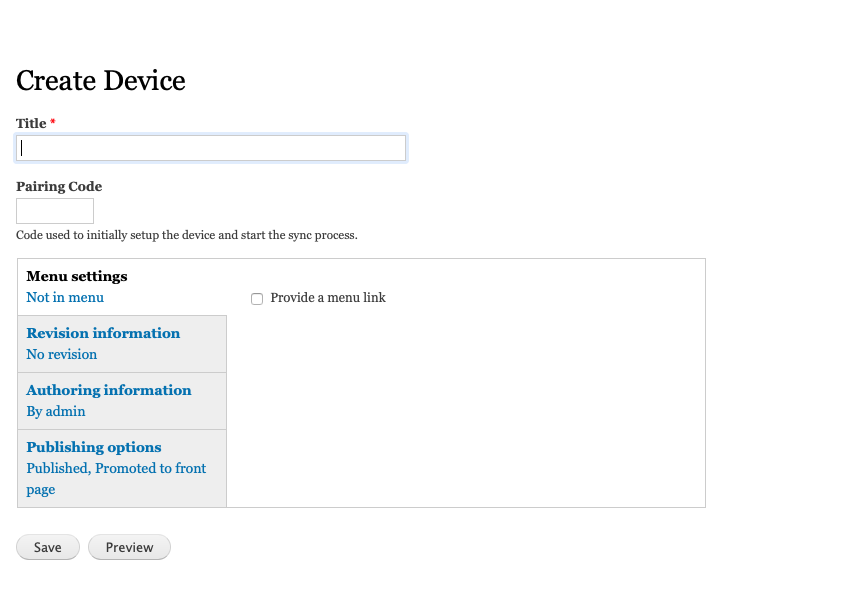
On the E-Heza Admin Menu click Create Device or go directly to path /node/add/device.

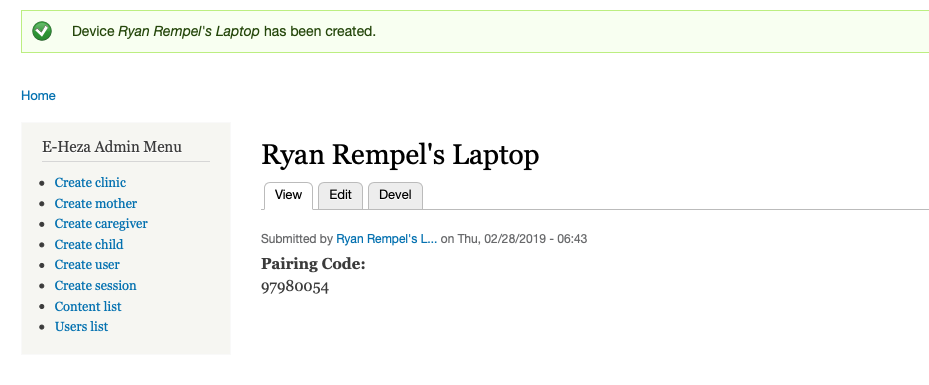
Fill in the name with something that identifies the device (e.g. E-Heza Tablet 1). You can leave the pairing code blank, as it will be auto-generated. Then, you should see something like this – note the pairing code that was generated.

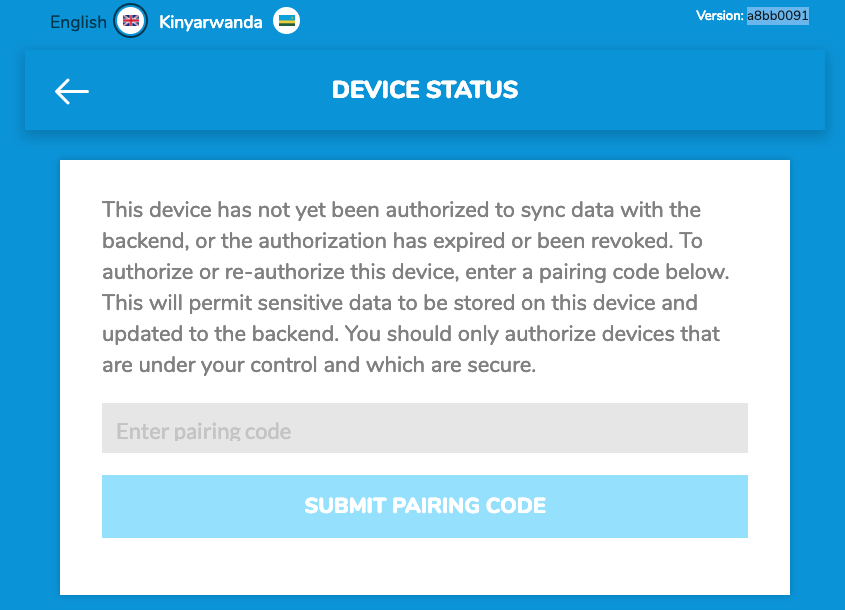
Back on the app on the tablet, you should see this screen:

Enter your pairing code.
If you enter a correct pairing code, then the device will start to download data from the backend. We divide the data into two groups. Some data is downloaded to every device, whereas other data is downloaded based on what’s needed for the health center that a device wants to work with. (The purpose is to stay within the limits of what can reasonably be stored on the device).
Pairing an Existing Device
If for some reason you need to reset a device, you will also need to re-pair it to the backend.
The instructions are the same as above except that instead of automatically generating a pin code, you will need to enter one manually. Every pin code must be unique, so be sure to choose a number that is not likely to be used somewhere else.
Last Modified: 1 January 0001
