To begin registering a patient (or a related set of patients), tap “Register a Participant” on the main screen of the app.

Next, you may search to see if the person you are registering already exists or you can directly register a person you know is new.
Searching for an existing patient
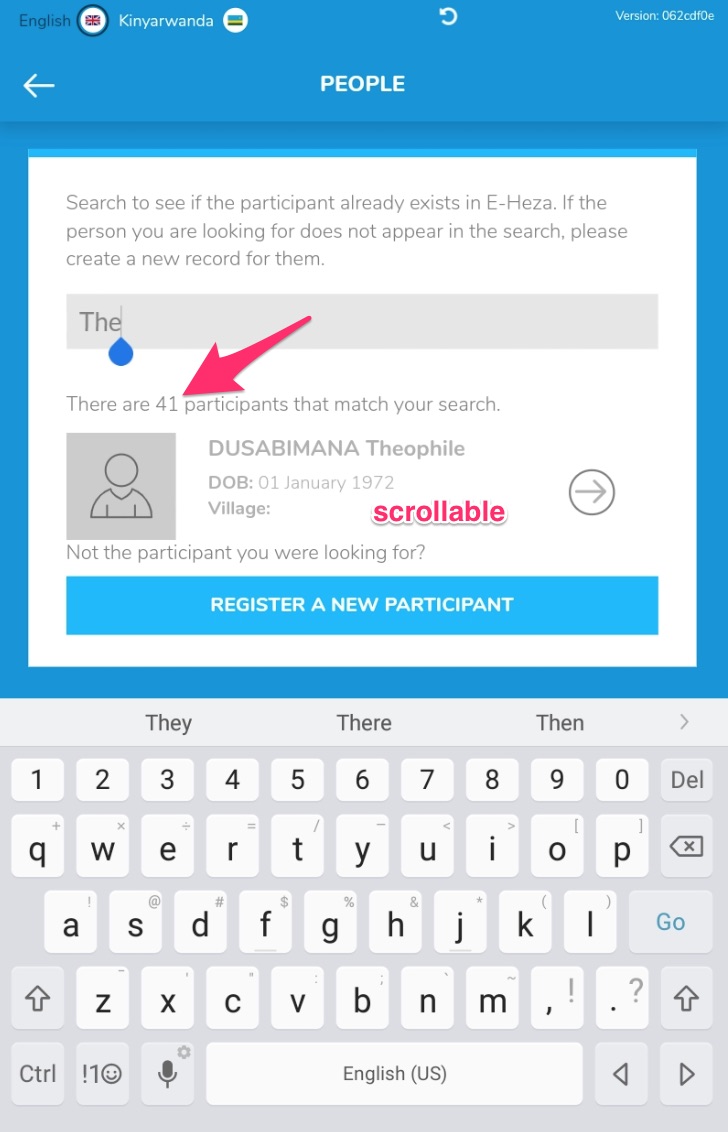
Enter the beginning letters of a first or second name (only the beginning letters will match, the system will not match the middle of a name). If you get matches they will appear below the search box.
Note that if the keyboard is still up, there will only be a small area that reveals the matching names - you can still scroll in this small space. To hide the keyboard, you can click in another area of the screen (off the search area)
Search results with the keyboard activated:
Search results with the keyboard hidden:

If you select an existing patient, you will be given an opportunity to add another patient who is related to that patient. If you have selected an adult, you can add a child, and if you have selected a child, you can add a parent or caregiver.
Registering a new patient
Clicking on “Registering a New Patient” on the previous screen will bring you to a form page for collecting the demographic information for a new patient.
The initial fields are:
- Photo - for a photo of the patient (optional)
- First name
- Second name
- National ID (optional)
- Date of Birth - and a checkbox to indicate that the date of birth is estimated
- Gender

Based on the birth date field, the app will conclude if the patient is an adult (over 13) or a child (13 and under) and will adjust the additional fields.
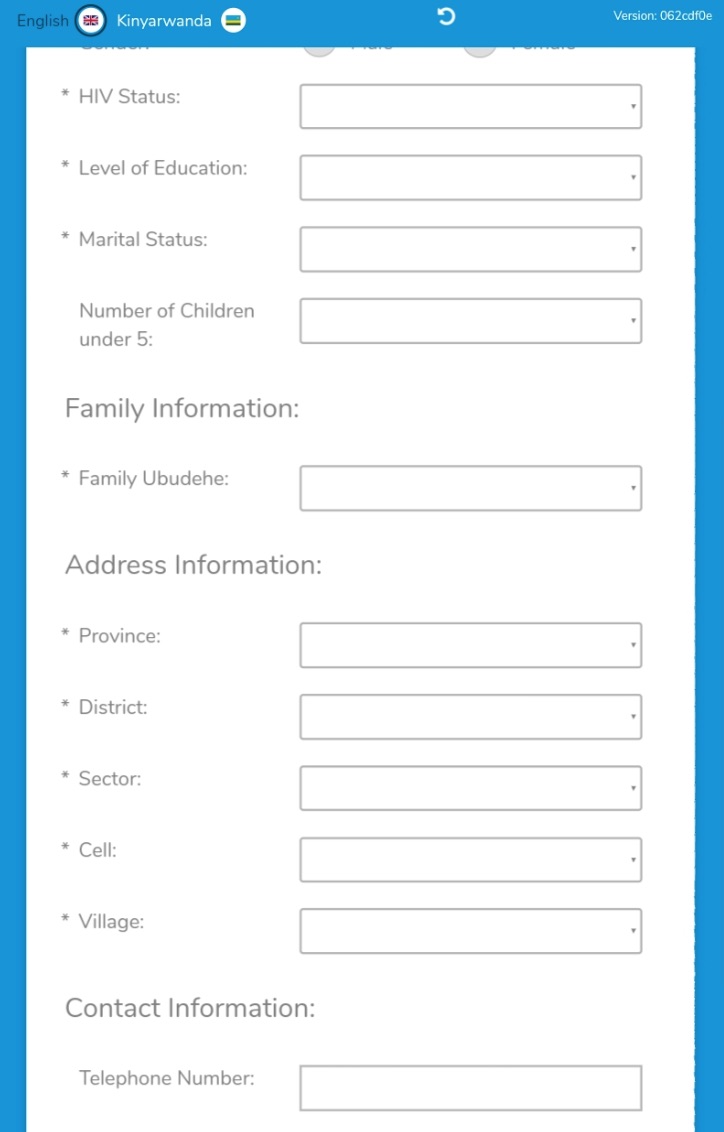
For an adult the app will ask:
- HIV Status
- Level of Education
- Marital status
- Number of Children under 5
- Family Ubudehe *
- Address information *
- Phone number (optional)
- Registering Health Center *
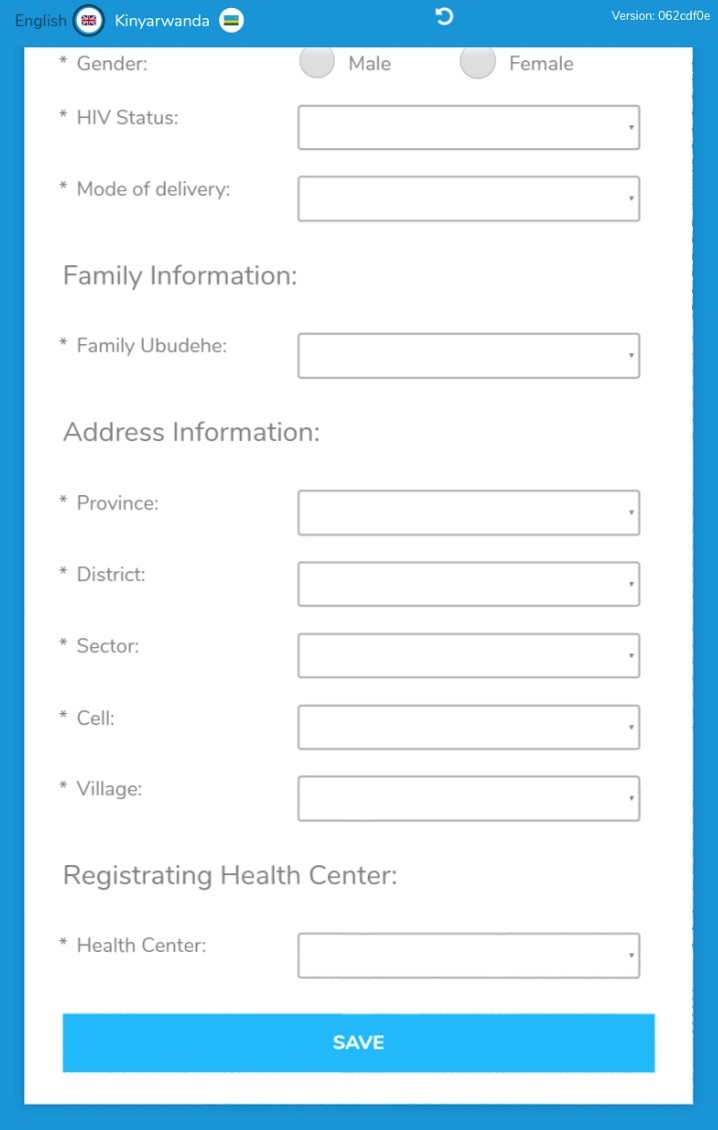
For a child the app will ask:
- HIV Status
- Mode of Delivery
- Family Ubudehe *
- Address information *
- Registering Health Center *
* These fields will be pre-filled if you are relating the person to someone who exists already)
When you tap “Save” you will be presented with one of two options:
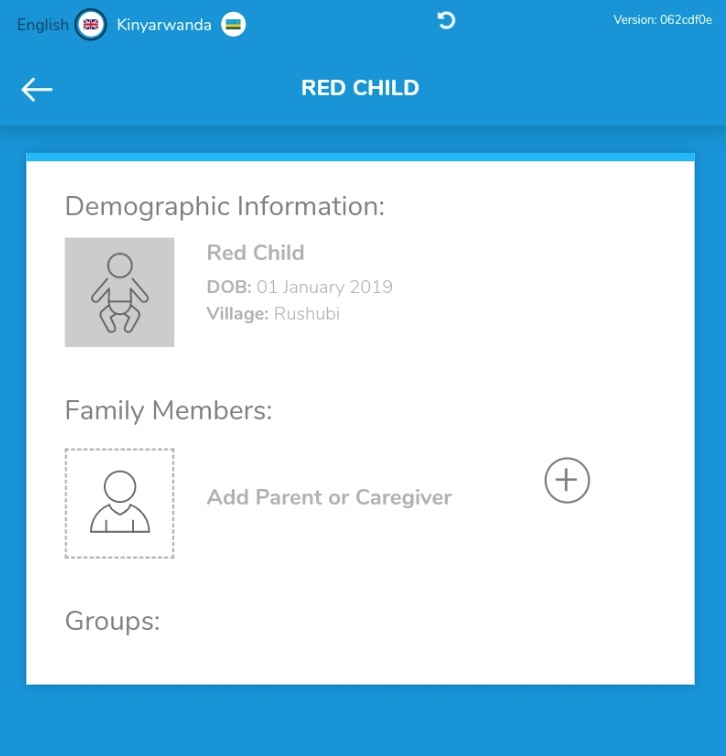
- If this is the first patient you are creating, you will be asked if you want to add a parent or a child. If you added a child first, it will ask you if you want to add a parent (as pictured). If you added an adult first, it will ask you, if you want to add a child.
- If this patient is being created as a relationship, you will be asked to describe the relationship. If you added a child first, it will ask you, if the original patient is “the child of” or “given care by” (for a caregiver) the second patient. If you added the parent first, it will ask you, if the original patient is “the parent of” or “gives care to” the second patient.
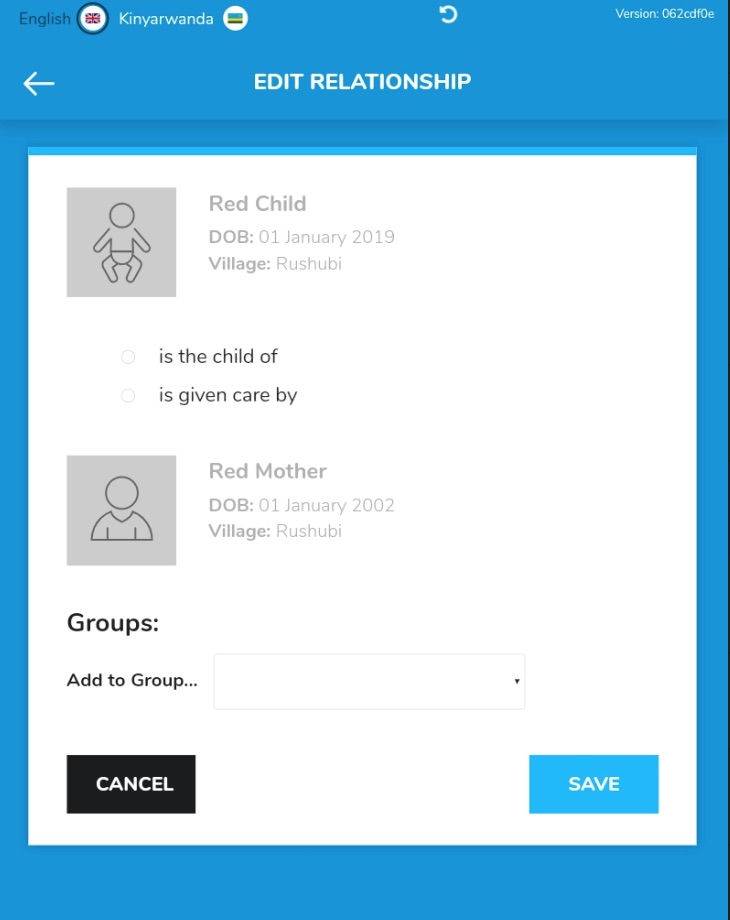
Adding patients to a group
On the same screen where you add the relationship between the patients, you can also add those patients to a group.
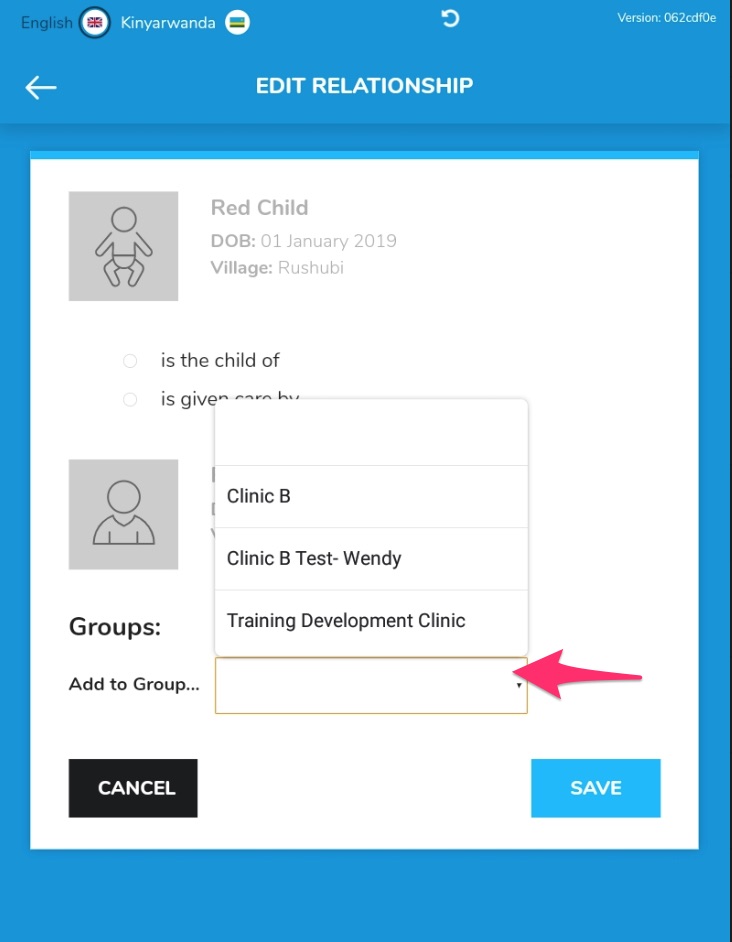
Only those groups which are part of the Health Center that the patients are assigned to will be shown.
Last Modified: 1 January 0001